Lawn Sprinkler Repair: Top 5 Expert Tips for 2024
Why Lawn Sprinkler Repair is Important
Lawn sprinkler repair is essential for keeping your lawn green and healthy. If you’re dealing with broken heads, leaky valves, or low water pressure, you’ve come to the right place.
To address immediate sprinkler repair concerns, here’s a quick list:
- Replace broken sprinkler heads: Unscrew and replace.
- Fix leaky valves: Turn off system, replace valve or tighten connections.
- Improve low water pressure: Check and open backflow and zone valves.
- Repair defective solenoids: Replace faulty solenoid with a new one.
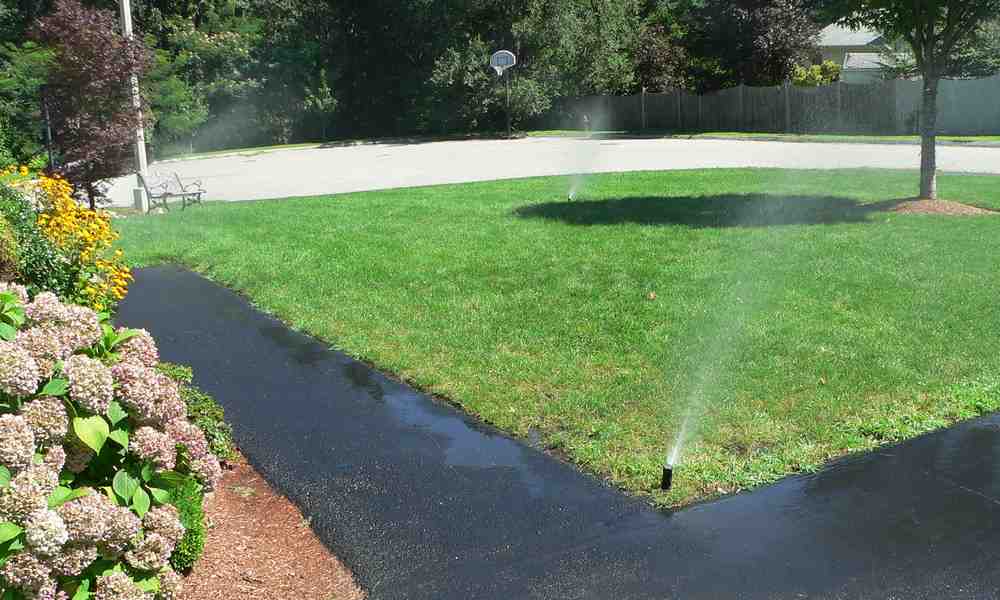
Having a well-maintained irrigation system can save time, reduce water usage, and keep your lawn looking its best. Regular maintenance and timely repairs ensure your sprinkler system operates efficiently, preventing costly issues down the road.
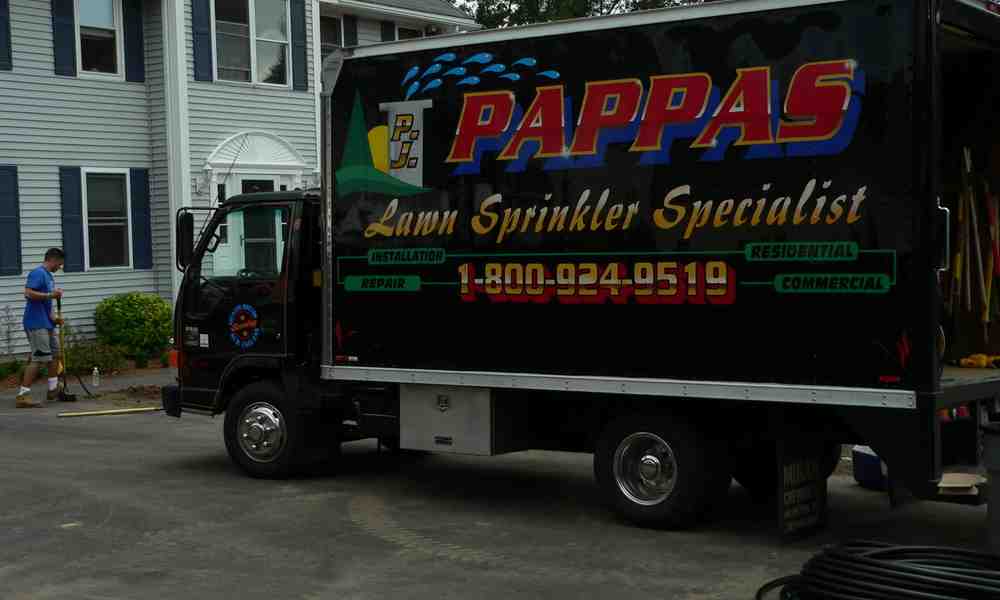
I’m Peter Pappas, owner of P.J. Pappas Company. With over 37 years of experience in lawn sprinkler repair and maintenance, I’m here to guide you through common issues and solutions. Our company specializes in designing and maintaining irrigation systems to meet your property’s unique needs.

Common Sprinkler Issues and How to Identify Them
Broken Sprinkler Heads
One of the most common problems with lawn sprinklers is a broken head. This can be caused by lawnmowers, foot traffic, or even pets. To identify a broken sprinkler head, look for water spraying unevenly or not at all.
Inspect the riser connected to the sprinkler head. If it’s damaged, you may need to replace it. Use plumber’s tape around the threads to ensure a tight seal when installing a new head.
Leaky Valves
Leaky valves can waste a lot of water and lead to higher bills. Signs of a leaky valve include wet spots around the valve box or inconsistent water pressure.
Valve replacement might be necessary. This involves removing the old valve, installing a new one, and ensuring it’s properly sealed. The cost can vary but typically ranges from $50 to $90, and it usually takes about an hour to complete.
Low Water Pressure
Low water pressure can affect the coverage of your sprinklers. To troubleshoot, first check the system valves on the backflow device. Ensure the horizontal and vertical pipe valves are fully open.
If this doesn’t solve the issue, there might be a blockage or a leak in the line. Identifying the exact cause can save you from more extensive repairs later.
Defective Solenoids
Solenoids control the flow of water in your sprinkler zones. A defective solenoid can cause a zone not to activate. To identify a faulty solenoid, listen for humming noises or check if a particular zone isn’t working.
Replacing a solenoid involves disconnecting the wires, unscrewing the old solenoid, and installing a new one. Make sure to reconnect the wires with waterproof connectors to prevent future issues.
Broken Wires
Broken wires can disrupt the entire sprinkler system. To test for broken wires, use a multimeter to check the resistance (ohms) of the field wire and common wire. If the resistance is too high, the wire may be damaged.
Repairing broken wires typically involves locating the break, stripping the wire ends, and reconnecting them with waterproof connectors. This ensures a secure and moisture-resistant connection.
By understanding these common issues, you can keep your lawn sprinkler system in top shape, ensuring your lawn stays green and healthy.
Step-by-Step Guide to Sprinkler Repair
Replacing a Sprinkler Head
- Excavate Around the Sprinkler Head: Use a small shovel to carefully dig around the malfunctioning sprinkler head. Be cautious not to damage any surrounding pipes.
- Remove the Riser: Unscrew and remove the sprinkler head and riser. If the riser is stuck, use an “easy-out” pipe removal tool.
- Inspect for Damage: Check the riser and sprinkler head for cracks or breaks. Damage often occurs from stepping on the head.
- Replace Components: If damaged, replace the riser and sprinkler head. Wrap the new riser’s ends with plumber’s tape before installation.
- Purge the System: Before reinstalling the sprinkler head, turn on the water to purge the system of debris. Then, screw on the new head and test.
Cleaning and Resetting Heads
- Disassemble the Head: Unscrew the sprinkler head and carefully take it apart.
- Rinse Debris: Use a toothbrush and water to clean out any dirt or debris from the head and nozzle.
- Adjust Watering Range: Reassemble the head and adjust the spray pattern and range to ensure proper coverage.
Finding and Repairing Leaks
- Turn Off the System: Shut off the water supply to the sprinkler system.
- Cut the Damaged Line: Identify the leak, then use a PVC cutter to cut out the damaged section of the pipe.
- Insert Slip Coupling: Collapse the repair coupling and apply PVC solvent to both the pipe ends and the coupling.
- Tighten Clamp: Extend the coupling between the cut sections and tighten it securely.
Repairing Crushed Pipes
- Dig Along the Water Line: Use a spade to excavate along the pipe until you locate the crushed section.
- Cut Out the Damaged Section: Use a PVC cutter to remove the crushed part of the pipe.
- Reroute the Line: If necessary, reroute the line to avoid future damage.
- Replace the Pipe: Insert a new section of pipe using slip couplings and PVC solvent to secure the connections.
Checking for Low Voltage
- Test Voltage with a Multimeter: Set your multimeter to measure voltage and test the output at the controller and transformer. Residential systems typically operate at 24V.
- Inspect the Controller: Ensure the controller is programmed correctly and sending the proper voltage to each zone.
- Check the Transformer: Verify that the transformer is receiving power and outputting the correct voltage range (24V to 28V).
By following these steps, you can address common sprinkler issues and keep your lawn looking lush and green. Next, we’ll discuss the costs associated with sprinkler repairs.
Cost of Sprinkler Repairs
Sprinkler repairs can vary widely in cost, depending on the type of repair needed and the complexity of the issue. On average, homeowners spend around $270 on sprinkler repairs, though costs can range from $50 to $850.
Factors Affecting Cost
- Type of Repair: Simple fixes like replacing a clogged sprinkler head might cost as little as $50. However, more complex issues, such as repairing broken pipes or valves, can push costs up to $400 or more.
- System Type: Above-ground systems are generally cheaper to repair ($50 to $350) compared to in-ground systems ($50 to $550).
- Parts Needed: The cost of replacement parts, such as valves, timers, and pipe fittings, can vary. For example, a sprinkler valve can cost between $15 and $150, while a timer might range from $30 to $400.
Sprinkler Valve Replacement Cost
Replacing a sprinkler valve is a common repair that can significantly affect the overall cost. The price of a new valve ranges from $15 to $150, depending on the type and quality.
Service Time: Replacing a valve typically takes about 1-2 hours. Labor costs can add an additional $50 to $100 per hour, bringing the total cost of a valve replacement to between $65 and $350.
General Repair Costs
Different sprinkler issues come with different price tags:
- Broken Sprinkler Heads: Simple to replace, costing $2 to $20 for the head plus labor.
- Leaky Valves: Can require valve replacement, costing $20 to $150 for the valve plus labor.
- Low Water Pressure: Often involves checking and servicing various components, costing $50 to $200.
- Defective Solenoids: Replacing a solenoid costs around $20 to $50, plus labor.
- Broken Wires: Diagnosing and repairing wiring issues can cost $50 to $200.
Homeowner Expenses: If you decide to handle some repairs yourself, you can save on labor costs but will need to purchase the necessary parts and tools. For instance, a PVC pipe cutter costs about $10 to $20, and PVC solvent glue is around $5 to $10.
By understanding these costs and factors, you can better budget for your sprinkler system repairs and ensure your lawn stays green and healthy.
Frequently Asked Questions about Lawn Sprinkler Repair
How do I fix my backyard sprinklers?
Fixing your backyard sprinklers involves several steps:
- Excavate Around the Sprinkler Head: Use a small shovel to carefully dig around the malfunctioning sprinkler head, making sure not to damage any pipes.
- Remove the Sprinkler Head and Riser: Unscrew the sprinkler head from the riser. If the riser is damaged, use an “easy-out” pipe removal tool to take it out.
- Inspect the Riser for Damage: Check the riser for cracks or breaks. Damages often occur when someone accidentally steps on the sprinkler head.
- Replace Damaged Components: If the riser or sprinkler head is damaged, replace them. Make sure the new sprinkler head has the same spray pattern as the old one.
- Wrap with Plumber’s Tape: Before installing the new riser, wrap the ends with plumber’s tape to ensure a tight seal.
- Purge the System: Turn on the water to purge the system of any debris before reinstalling the sprinkler heads.
By following these steps, you can effectively repair your backyard sprinklers and keep your lawn green.
How much does it cost to replace a broken sprinkler valve?
The cost to replace a broken sprinkler valve can vary:
- Valve Price Range: A new sprinkler valve typically costs between $15 and $50 depending on the brand and type.
- Service Time: Replacing a valve usually takes about 1 to 2 hours.
- Total Cost: Including labor, the total cost for professional valve replacement can range from $75 to $200.
If you opt to do it yourself, you will only need to cover the cost of the valve and any additional materials, like plumber’s tape.
Can an old sprinkler system be repaired?
Yes, an old sprinkler system can often be repaired. Here are some common repairable issues:
- Broken Sprinkler Heads: These can be easily replaced with new ones.
- Leaky Valves: Valves can be replaced to stop leaks.
- Low Water Pressure: This issue can often be fixed by checking and cleaning valves, backflow devices, and pipes.
- Defective Solenoids: Replacing solenoids can resolve electrical issues.
- Broken Wires: Testing and repairing wiring can restore functionality.
System Longevity: With regular maintenance, many sprinkler systems can last 15 to 25 years. Regular inspections and timely repairs can extend the life of your system, ensuring it continues to keep your lawn lush and green.
Conclusion
At P.J. Pappas Company, we understand the importance of a well-maintained irrigation system for keeping your lawn green and healthy. Our specialized focus on irrigation systems and landscape lighting allows us to offer customized solutions tailored to your specific needs. Whether you own a small residential property or a large commercial space, we have the expertise to design, install, and maintain the perfect system for you.
Our team is dedicated solely to irrigation and landscape lighting, ensuring we stay updated with the latest technology and best practices in the field. This means you can trust us to provide the most efficient and effective solutions for your lawn’s irrigation needs.
With over 37 years of experience, we pride ourselves on our precision installation and meticulous attention to detail. We use only the best quality products and materials to ensure that our installations are efficient, reliable, and long-lasting.
But our commitment doesn’t stop at installation. We offer ongoing maintenance and repair services to keep your system running smoothly year after year. This dedication to service ensures the long-term health and beauty of your landscape.
For a lawn irrigation system or landscape lighting system that meets all your requirements, trust the experts at P.J. Pappas Company. Call us today at 781-935-9519 or click here to schedule a free estimate.


