In Ground Sprinkler System: 7 Essential Tips for 2024
The Advantages of In-Ground Sprinkler Systems
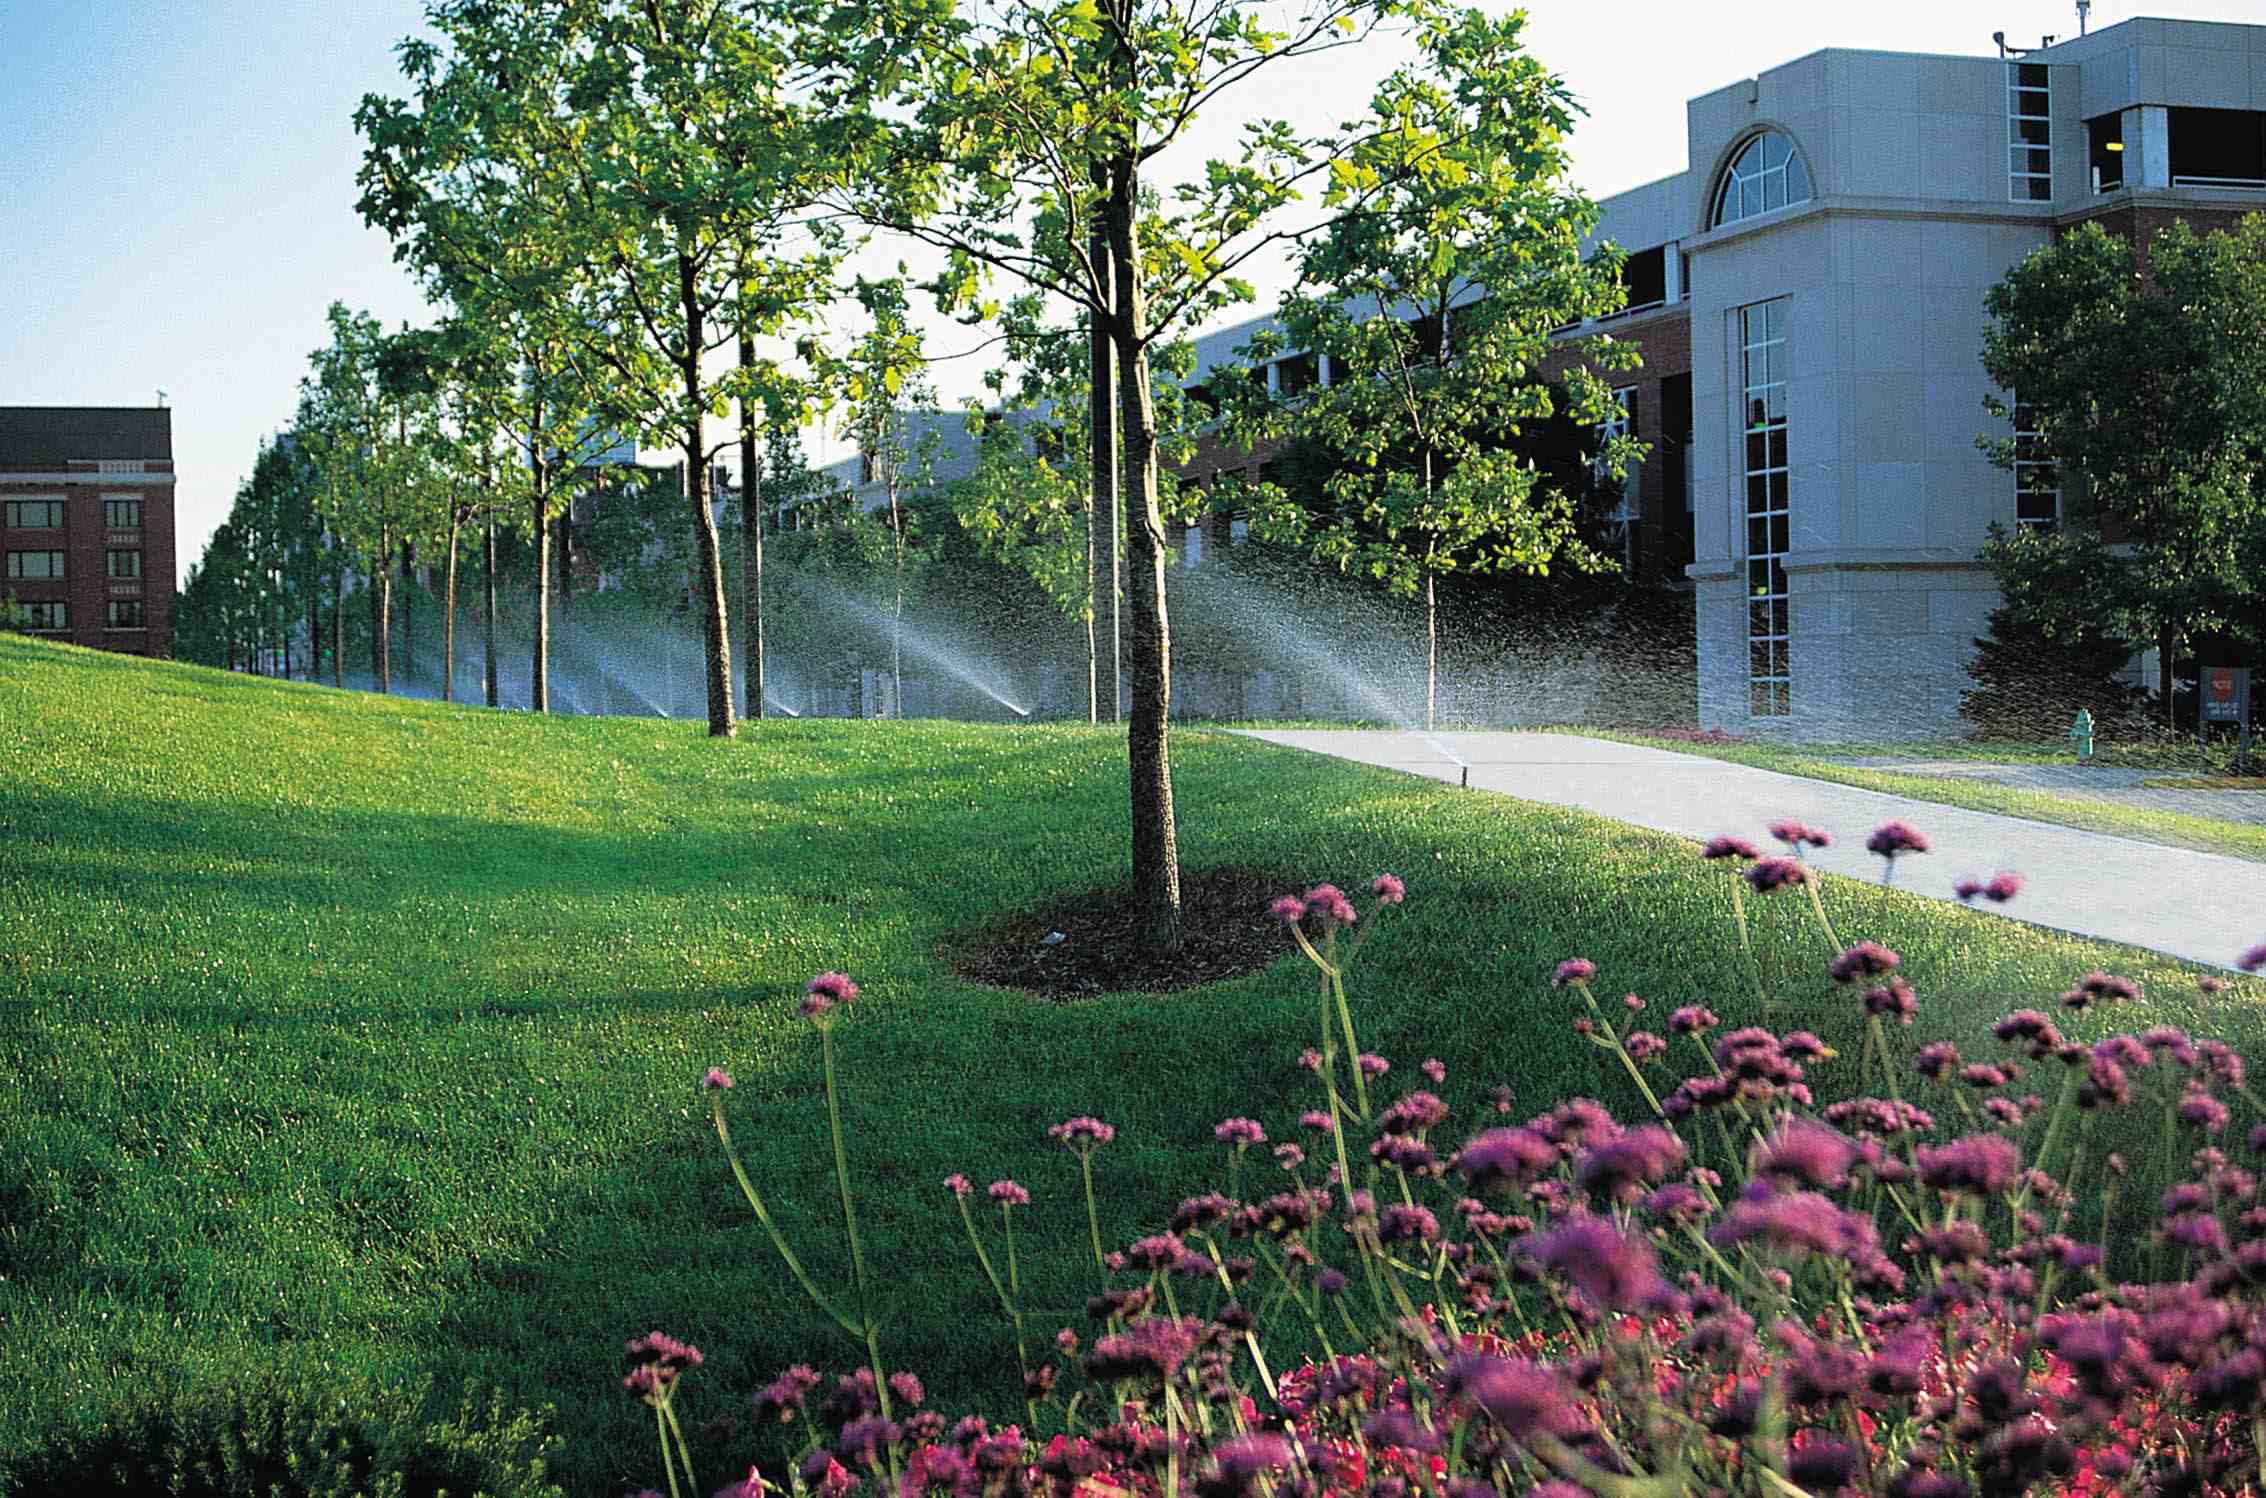
A professional-grade in-ground sprinkler system is your ultimate solution for hassle-free lawn maintenance. These systems not only save time and water but also keep your lawn looking lush and healthy year-round.
If you’re considering an in-ground sprinkler system, here are a few quick points to know:
- Efficiency: Automated watering reduces wastage.
- Convenience: Set it and forget it with programmable schedules.
- Curb Appeal: A consistently green lawn enhances property value.
- Customization: Tailored to your lawn’s unique needs.
Hello, I’m Peter Pappas, owner of P.J. Pappas Company. With over 37 years of experience in designing and installing irrigation systems in Massachusetts, I focus on creating efficient, reliable, and high-quality solutions for both residential and commercial properties.

Evaluating the Need for an In-Ground Sprinkler System
Lawn Size
The size of your lawn is a crucial factor in determining whether an in-ground sprinkler system is right for you. Larger lawns often require more time and effort to water manually. An automated system can save you hours of work each week. Smaller lawns might not need the extensive reach of an in-ground system, but they can still benefit from consistent watering.
Watering Needs
Different types of grass have different water requirements. For instance, some turfgrass varieties need more water than others. Your soil type also plays a big role. Sandy soils absorb water quickly but don’t hold it well, requiring more frequent watering. Clay soils, on the other hand, absorb water slowly but retain it longer, meaning less frequent but longer watering sessions.
Local Climate
Your local climate significantly impacts your lawn’s watering needs. Areas with frequent rainfall might not need an extensive irrigation system, but for those in drier climates, an in-ground sprinkler system can be a lifesaver. Automated systems can be programmed to adjust based on weather conditions, ensuring your lawn gets the right amount of water year-round.
Next, we will dive into the planning phase, where you’ll learn how to map out your system, zone your lawn, and choose the best water source.
Planning Your In-Ground Sprinkler System
Mapping Your Yard
Start by creating a detailed map of your yard. Measure and draw your property to scale on graph paper, using a scale of 1 inch = 10 feet. Include all permanent features like your house, sidewalks, trees, shrubs, and slopes. Mark the location of your water meter and note areas of sun and shade.
A well-drawn map will help ensure your in-ground sprinkler system provides 100% coverage and avoids dry spots. That overlapping the spray patterns of your sprinkler heads is crucial for even watering.
Zoning Your Lawn
Different parts of your yard will have different watering needs. For example, flower beds, shrubs, and lawns all require varying amounts of water. To accommodate this, you’ll need to create multiple watering zones.
A zone is an independently controlled set of pipes and sprinkler heads. The number of zones depends on your landscape’s features and your water supply’s capacity. Each zone will have its own control valve, allowing you to customize the watering schedule for each area.
Choosing Your Water Source
Your water source is critical for a successful sprinkler system. Whether you use municipal water or a well, you need to determine:
- Water Pressure (PSI): Use a pressure gauge on your outdoor faucet to get an accurate reading.
- Water Meter Size: Typically found on the meter itself or your utility bill.
- Service Line Size: Measure the circumference of your water pipe with string and compare it to a sizing chart.
- Flow Rate (GPM): Fill a container with water from your spigot, record the time it takes, and calculate the flow rate.
Understanding these factors will help you select the right components for your system.
There are various sprinkler head types, each suited for different areas:
- Pop-up Sprinklers: Ideal for lawns, these stay hidden when not in use.
- Rotary Sprinklers: Great for large areas, they rotate to cover more ground.
- Shrub Sprinklers: Taller and designed for flower beds and shrubs.
Always use the same type of sprinkler head within each zone to ensure efficiency. Also, consider the mature size of your plants when selecting the height for shrub sprinklers.
Avoiding Pressure Loss
To maintain even watering, plan your pipe layout with minimal turns and avoid long extensions. If necessary, create additional zones rather than overextending a single one. This helps prevent pressure loss, which can lead to uneven watering.
Now that you have a solid plan for your in-ground sprinkler system, let’s move on to the installation steps, where we’ll cover everything from digging trenches to connecting your system.
Installation Steps for an In-Ground Sprinkler System
Digging
The first step in installing your in-ground sprinkler system is digging trenches for the pipes. The trenches should be about 6 to 12 inches deep, depending on your area’s freeze cycles.
- Mark the Layout: Use stakes and string to outline the path of your sprinkler lines. Place a flag where each sprinkler head will go.
- Digging Tools: A garden spade with a square edge works well for digging. For larger areas, consider renting a trencher to save time.
- Level Trenches: Ensure the trenches are level to avoid inefficiencies. Uneven trenches can cause water pressure issues.

Pipe Laying
Once your trenches are ready, it’s time to lay the pipes.
- PVC vs. Polyethylene: Choose the right type of pipe for your climate. PVC is strong and rigid, while polyethylene is flexible and better for cold climates.
- Assembling Pipes: Lay out the pipes first. Connect them using adhesive for PVC or specially designed clamps for polyethylene. Apply heat to the ends of polyethylene pipes to make connections easier.
- Avoiding Debris: Ensure the pipes are clean before connecting them to prevent blockages.
Sprinkler Placement
Proper placement of sprinkler heads is crucial for even watering.
- Head Styles: Different plants need different types of sprinkler heads. Match the head style to your plant’s water requirements.
- Threading Heads: Most sprinkler heads thread onto risers. Follow the manufacturer’s instructions carefully.
- Flushing the System: Before making the final connection, flush the system to remove debris. This step is essential to prevent clogs and ensure smooth operation.
Connection
The final step is connecting your sprinkler system to the water supply.
- Water Source: You can connect the system to your main water line or a dedicated irrigation line.
- Backflow Preventer: Install a backflow preventer as required by local codes to prevent contamination of your drinking water.
- Testing: Once everything is connected, turn on the water to test the system. Check for leaks and ensure all sprinkler heads are functioning correctly.

With your in-ground sprinkler system installed, you can now enjoy a lush, well-watered lawn with minimal effort. Next, we’ll discuss the pros and cons of DIY versus professional installation.
DIY vs. Professional Installation
When it comes to installing an in-ground sprinkler system, you have two main options: doing it yourself (DIY) or hiring a professional. Each choice has its own set of benefits and drawbacks. Let’s break it down by cost, time investment, and skill level required.
Cost Comparison
DIY Installation:
– Initial Costs: You’ll save money on labor, but you’ll still need to purchase all the necessary materials and tools. Expect to spend around $500 to $1,500, depending on the size of your lawn and the quality of the components you choose.
– Long-term Costs: DIY systems may require more frequent maintenance or adjustments, which can add up over time.
Professional Installation:
– Initial Costs: Hiring a professional can range from $2,000 to $4,000 for an average residential yard. This includes labor, materials, and often a warranty.
– Long-term Costs: Professionals typically use higher-quality materials and offer warranties, potentially reducing future maintenance costs.
Time Investment
DIY Installation:
– Planning: Expect to spend several hours researching and planning your system.
– Installation: The actual installation can take a weekend or more, depending on your experience and the complexity of your yard.
– Adjustments: You may need to spend additional time fine-tuning the system to ensure optimal performance.
Professional Installation:
– Planning: Professionals handle the planning and design, saving you time and effort.
– Installation: A professional crew can usually complete the job in a day or two.
– Adjustments: Professionals will make any necessary adjustments and ensure the system is working perfectly before they leave.
Skill Level
DIY Installation:
– Required Skills: Basic plumbing and landscaping skills are essential. You’ll need to understand water pressure, flow rates, and how to properly connect pipes and sprinkler heads.
– Learning Curve: There is a steep learning curve, and mistakes can be costly. Miscalculations can lead to inefficient watering or even damage to your lawn.
Professional Installation:
– Required Skills: None required from you. Professionals bring years of experience and specialized knowledge.
– Peace of Mind: Hiring a professional ensures that the system is installed correctly and efficiently, minimizing the risk of errors.
Choosing between DIY and professional installation depends on your budget, time availability, and comfort level with complex projects. If you’re confident in your abilities and want to save money, DIY might be the way to go. However, if you prefer a hassle-free experience and guaranteed results, hiring a professional is worth the investment.
Next, we’ll answer some frequently asked questions about in-ground sprinkler systems.
Frequently Asked Questions about In-Ground Sprinkler Systems
Is an In-Ground Sprinkler System Worth It?
Efficiency: An in-ground sprinkler system is highly efficient. It ensures your lawn gets the right amount of water at the right time. This leads to healthier grass and plants, and you won’t waste water. For instance, you can set the system to water during cooler parts of the day, reducing evaporation.
Property Value: Installing an in-ground sprinkler system can boost your property’s value. Potential buyers see a well-maintained lawn as a plus. It shows that you care about your home and makes the yard look more appealing.
Water Savings: These systems can save you water. By delivering water directly to the roots, you avoid runoff and evaporation. This targeted approach means you’ll likely see a reduction in your water bill over time.
Can I Install an In-Ground Sprinkler System Myself?
Tools: Installing an in-ground sprinkler system yourself requires specific tools. You’ll need items like a pressure gauge, trenching shovel, pipe cutter, and more.
Planning: Planning is key. You’ll need to map out your yard, calculate water pressure and flow rate, and decide on the type of system. This involves understanding your lawn’s layout and soil type.
Time Commitment: DIY installation is time-consuming. It can take several days to complete, especially if you have a large yard. Consider if you have the time and patience for such a project.
How Deep Should Sprinkler Lines Be Buried?
Trench Depth: Sprinkler lines should be buried 6 to 12 inches deep. The depth ensures the sprinklers retract properly and are protected from lawn equipment.
Freeze Cycles: If you live in an area with freezing winters, bury the lines deeper to prevent freezing. This may require trenches up to 12 inches deep.
Safety: Always call 811 before you dig. This service will help you locate any underground utilities to avoid dangerous and costly mistakes.
Next, we’ll dive into maintenance and troubleshooting tips to keep your in-ground sprinkler system running smoothly.
Maintenance and Troubleshooting
Winterizing
Proper winterization is crucial to protect your in-ground sprinkler system from freezing temperatures. Here’s how to do it:
- Auto-Drain Valves: If your system has auto-drain valves, turn off the water supply and open the valves. This will allow excess water to drain automatically. Simple and efficient!
- Manual Drains: For systems without auto-drain valves, you’ll need an air compressor with 50-100 PSI. Lower PSI compressors won’t clear the water effectively. Hook up the air compressor and run air through each zone until all water is expelled.
- Valve Manifolds: Open valve manifolds to drain any remaining water.
- Turn Off Timer: Ensure the timer is off to prevent water from entering the system during winter.
Spring Setup
Getting your system ready for spring is just as important as winterizing. Follow these steps:
- Check Water Pressure: Your system needs 40-65 PSI. Use a pressure gauge at a hose bibb to measure. High pressure causes misting; low pressure might indicate clogs or leaks.
- Inspect Sprinkler Heads: Look for clogs and clean them. Clogged heads can lead to uneven watering and dry spots.
- Adjust Sprinkler Heads: If you have adjustable heads, change the spray pattern as needed. This ensures even coverage and efficient water use.
Common Issues
Even with regular maintenance, issues can arise. Here are some common problems and how to address them:
- Leaks: Look for water pooling, damp areas, or grass growing faster in certain spots. Replace leaking sprinkler heads or repair broken pipes.
- Clogged Sprinkler Heads: A clogged head can disrupt water flow. Clean clogged heads to restore proper function.
- Pressure Problems: If your heads aren’t popping up or water doesn’t spray far enough, you may have low pressure. Check for clogs, leaks, or broken heads.
- Uneven Watering: This can be due to pressure loss or mixed head types in one zone. Ensure all heads in a zone are the same type and check for any obstructions.
Professional Help
If a problem seems beyond your skills, don’t hesitate to call a professional. Complex issues like pipe repairs often require expert knowledge.
Next, we’ll explore the long-term benefits of maintaining your in-ground sprinkler system and how P.J. Pappas Company can help.
Conclusion
Installing and maintaining an in-ground sprinkler system offers numerous long-term benefits. Not only does it save time and effort, but it also ensures your lawn receives consistent and efficient watering. This can lead to healthier, greener grass and improved curb appeal.
Long-term Benefits
- Water Conservation: Modern sprinkler systems are designed to use water efficiently. By targeting specific areas and adjusting for weather conditions, these systems help conserve water and reduce your water bill.
- Increased Property Value: A well-maintained lawn can significantly increase your property’s value. Potential buyers often see a lush lawn as a sign of a well-cared-for home.
- Convenience: Automated systems eliminate the hassle of manually watering your lawn. You can set schedules and forget about it, knowing your lawn will be well-watered.
- Healthier Lawn: Consistent watering helps your grass grow stronger and more resilient. This can reduce the need for fertilizers and other lawn care products.
P.J. Pappas Company
At P.J. Pappas Company, we specialize in designing and installing high-quality irrigation systems tailored to your specific needs. With over 37 years of experience, our team is dedicated to providing efficient and reliable solutions for your lawn.
Our expertise ensures that every component of your system is installed correctly for optimal performance. We use only the best quality products and materials, guaranteeing a long-lasting and efficient system. Plus, our ongoing maintenance services keep your system running smoothly year after year.
Ready to transform your lawn with a professional in-ground sprinkler system? Contact P.J. Pappas Company today for a free estimate and see how we can help you achieve a beautiful, healthy lawn.
By understanding the long-term benefits and choosing a professional installation, you’re investing in the future health and beauty of your lawn. Let P.J. Pappas Company be your partner in creating the perfect outdoor space.
